How to Make a Chapbook
By Matthew James Weigel
My first chapbook of poetry I made myself. It was a research-creation project for an English class I was taking at the beginning of 2019. I was really propelled in my studies by research-creation, and I cherish the opportunity to do challenging creative work and have it count for grades. As a disabled neurodivergent person who took almost ten years to finish a Bachelor of Science degree, having the opportunity to do school in a way that worked for me was not something I was used to.
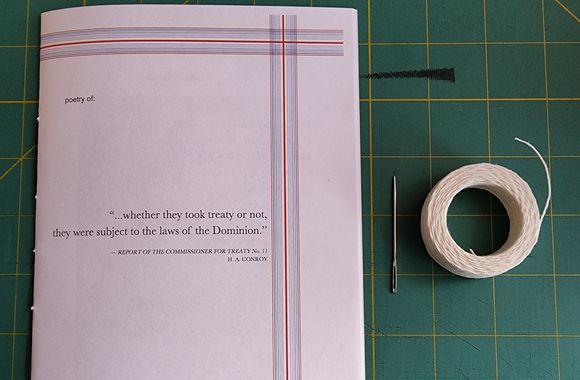
The chapbook was very simple, three sheets of paper printed on the university library printer, saddle-stitched together. I handed it out to folks who came to a visit I organized in our library’s special collections to view a copy of the Treaty 6 parchment. Bruce Peel Special Collections acquired a copy of that chapbook.
There was significant irony to this acquisition because the chapbook’s subject was about the University’s acquisition and archive of the treaty parchment, of images and recordings of my family, and in some ways, of me myself.
Let me show you how I made it.
Things you’ll need:
- A chapbook to print!
- Paper to print it on!
- A needle.
- Waxed linen cord.
1. This is the hardest part of the process. I might write another blogpost here about what I think makes a good chapbook from the perspective of an author and chapbook publisher, but for now let’s assume you have your chapbook ready to go.
You’ll need to print it in something called “Booklet” format. This can be very confusing the first time you do it, so it helps to make a diagram of your pages, so you understand how to print it out. Some software suites will do this for you, and there are also tutorials on the internet if you’re still confused or need extra help. Just search for how to set up your document in booklet format and you should find lots of info.
You’ll be putting your chapbook together in something called a “signature” in bookbinding jargon. This is a collection of sheets folded over in half. Because a chapbook is a small book, you’ll only be creating a single signature of 2 or more sheets. Chapbooks tend not to go beyond ten sheets total, and that’s a very large chapbook. We’ll be making a 3 sheet chapbook, including the cover.
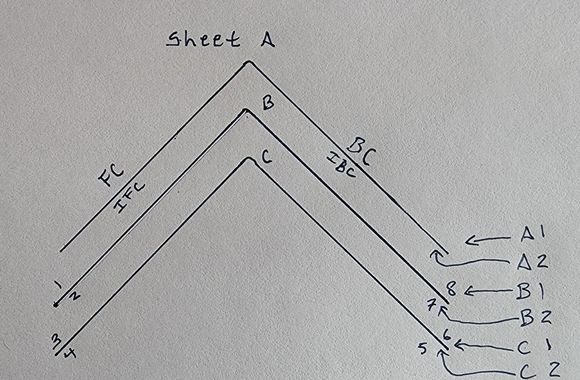
We’re going to format a standard size sheet of paper (8.5”x11”) in landscape. Each page in our word processing or formatting software will then effectively become two pages in our chapbook. It’s important to leave space in the middle and outside for our gutter and margins. We’re going to format our pages according to the following diagram of our chapbook in a top-down view as though it were open on the table and we were looking down at the top edges of the open pages.
Your CanLit News
Subscribe to Open Book’s newsletter to get local book events, literary content, writing tips, and more in your inbox
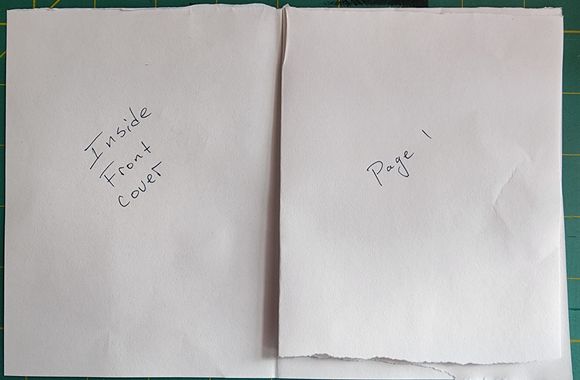
Because we’re folding these landscape pages in half and printing on both sides of the paper, each sheet of paper from your printer will turn into 4 separate pages in your chapbook. Order your word processor document with this order in mind: A1, A2, B1, B2, C1, C2. (Just add on extra letters for longer chapbooks, but remember your chapbook will always end up in page counts with a multiple of 4). A1 will have our Front (FC) and Back Covers (BC). A2 will have our Inside Front Cover (IFC) and Inside Back Cover (IBC). B1 will have our first page and last page (pages 1 and 8). B2 our second and second last page (2 and 7). And so on and so forth.
This process can be very confusing the first time you do it, so it might be helpful to make your own diagram. One thing I also like to do is create a sample out of blank paper, fold the blank sheets into a booklet, then write the titles of the poems on each page to get an idea of where they will end up in the final product.
2. If you want to print a heavier weight cover, print that first and then print the rest of the pages. When printing double sided in this way, make sure you select “flip on short edge” so that your pages are all facing the right way up!
3. I like using a fatter needle with a bit of a blunt point, so I don’t poke myself. A larger needle is helpful because we’ll be using something heavier than thread to keep the binding strong.
4. I like to use waxed linen cord that you can find at craft stores. It comes in different colours and is pre-waxed so you save yourself a step. If you have some good string and want to wax it yourself, just run it across the edge of a piece of beeswax and you’ll be good to go. Waxing helps protect the string and the paper, and makes stitching easier.
Now we have everything we need!
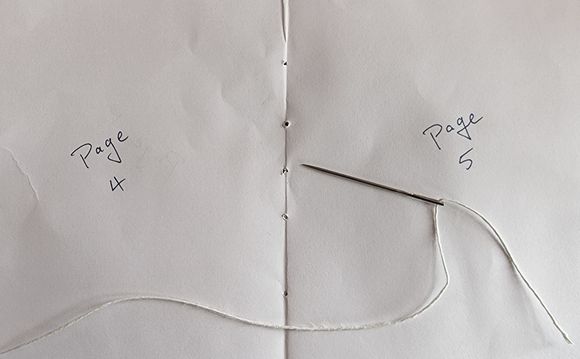
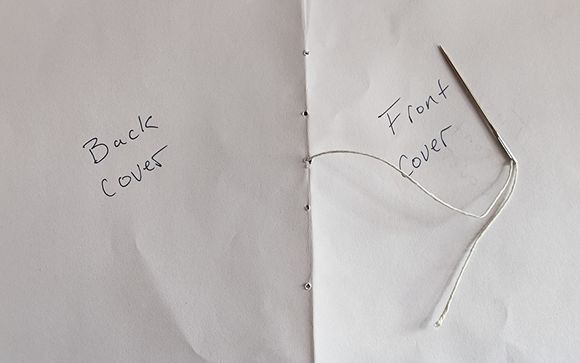
Using your needle, poke 5 holes in the spine of your chapbook. You can see the general shape in this picture:
(Videos can really help and there are lots on the internet if you search for “saddle-stitch binding”.)
We’re going to thread our needle but not tie a knot, just leave a small length of cord hanging.
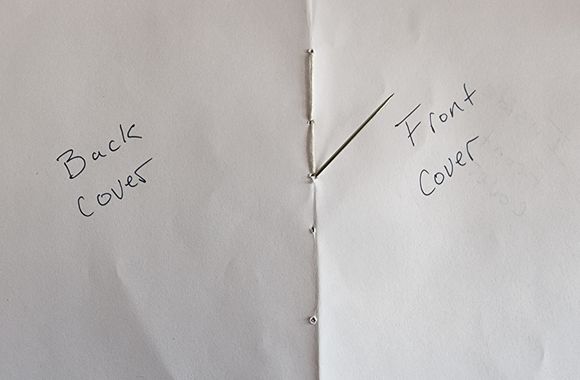
Start in the centre hole going through the gutter and out the back through the spine. We’re going to come back down through the next hole above the middle, and back up through the next hole above that. Snaking our way through back and forth through each hole.
Then we’re going to go backwards up-and-down through each successive hole until we get to the bottom. Make sure to keep your tension just enough to keep it flexible and not so tight it will put pressure on the paper. You'll return through the middle hole where you started, but keep on going.
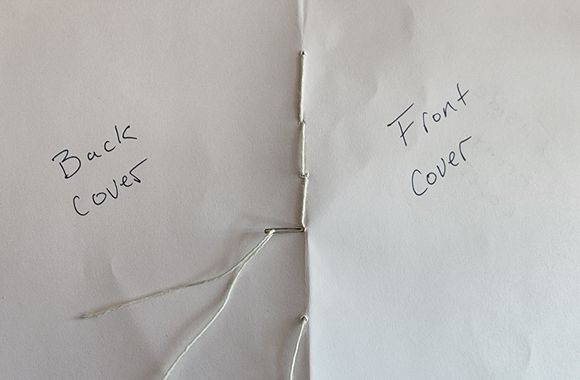
Once you get to the bottom, turn around and go back up to the middle. Keep snaking up and down through the holes until you come back up through the centre hole for the third time.
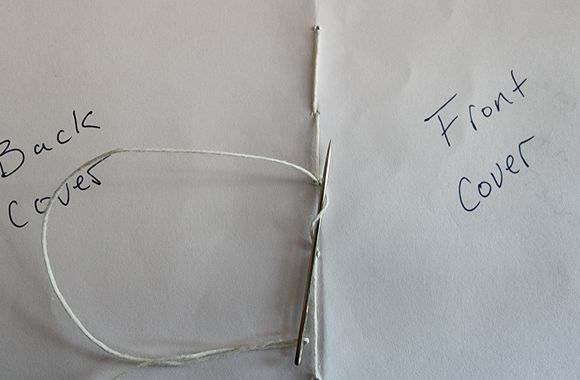
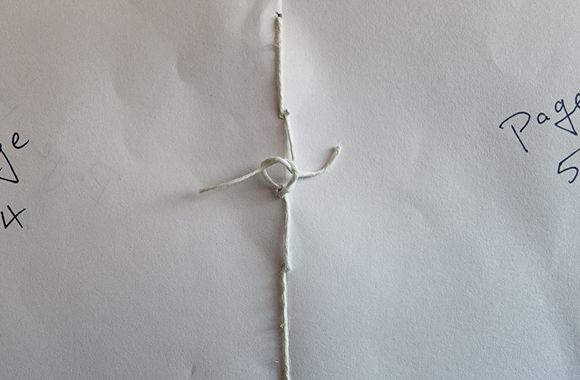
Loop it through to tie a knot.
Put the needle one final time through to the centre gutter, and gently pull the knot through to the inside. Trim the loose ends of thread, tie a simple knot, and you’re good to go!
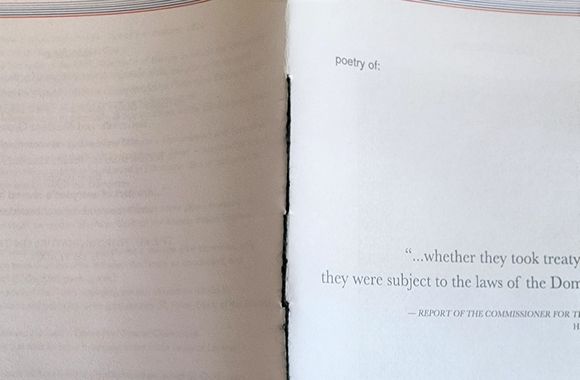
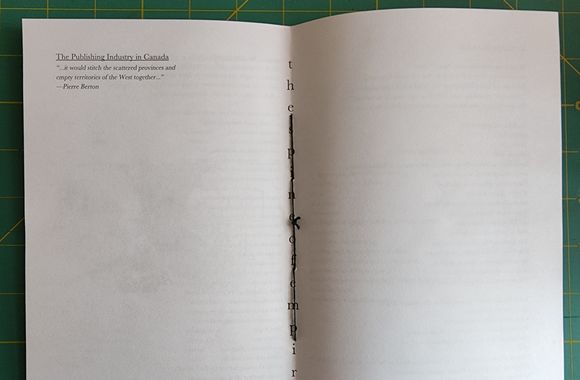
If you did it right there shouldn’t be any gaps or missed stitches. They should cover the whole inside and outside of the chapbook.
I hope these instructions and images were clear enough to help you along on your first handmade chapbook. These make great gifts and keepsakes, and can be made quickly enough that if you want to sell them it isn’t too much trouble.
The views expressed in the Writer-in-Residence blogs are those held by the authors and do not necessarily reflect the views of Open Book.
Matthew James Weigel is a Dene and Métis poet and artist. He is the designer for Moon Jelly House press and his words and art have been published in Arc, The Polyglot, and The Mamawi Project. Matthew is a National Magazine Award finalist, a Cécile E. Mactaggart Award winner, and winner of the 2020 Vallum Chapbook Award. His chapbook It Was Treaty / It Was Me is available now. Whitemud Walking is his debut collection.
